| "Gary, the Energizer Co. called, The Bunny is out they want you!" — phil65

Fabricating the tunnel gun: Part VII Originally Posted on Dec. 14, 2006
Well, just before my self-imposed 8 a.m. deadline on getting that tunnel gun swinging, I have just finished it. I think this is the first time in years I've actually finished something before the deadline was up. Confused It's not like this is a real big deal or anything, but it is progress.
The first thing I did this morning (besides checking WIX), was to bend up the second hinge holder upper thingy and then tack weld it on in it's proper location. After that, I needed to finish forming the piece of structure that I made yesterday that interconnects the two hinges (you know...that little piece of metal that I put through the bead roller). Well, the way I designed it, I had the ends of that piece hang over the outboard edge of the tubing it was welded to so that the ends would form to the tubing and add more strength. So now that the hinge holder-uppers were both tacked in place, I was able to form those ends over the tubing.
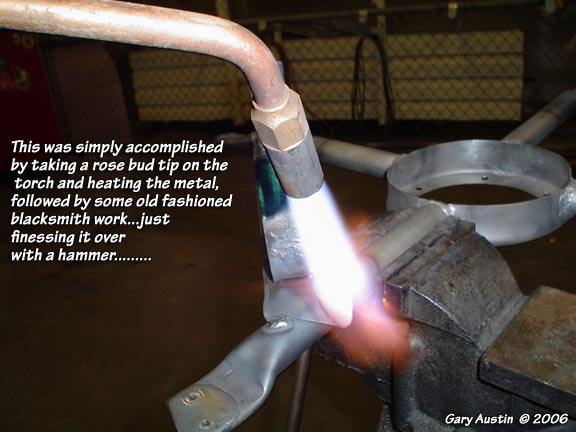
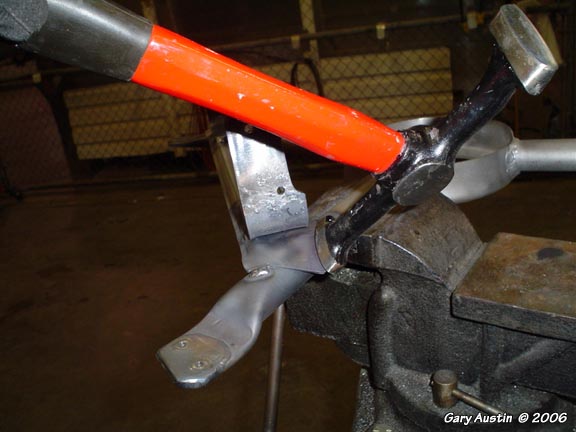
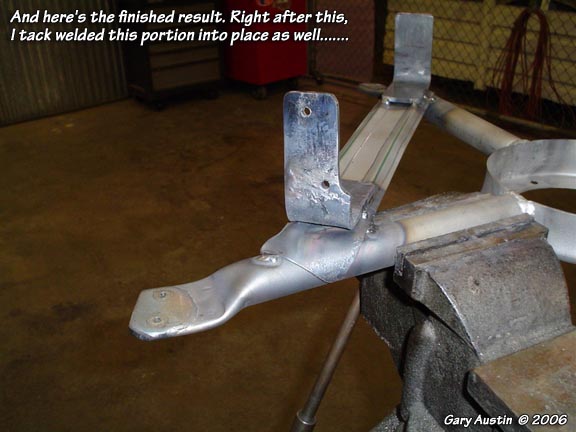
So finally, I was ready to fit the hinges to the framework and then install it all on the airplane. I still have the seemingly never ending trimming and persuading to do in order to make everything fit like I want, but the door definitely swings now!
These shots are of the outside view, then inside view of the door closed, followed by the inside view of it hinged open.......
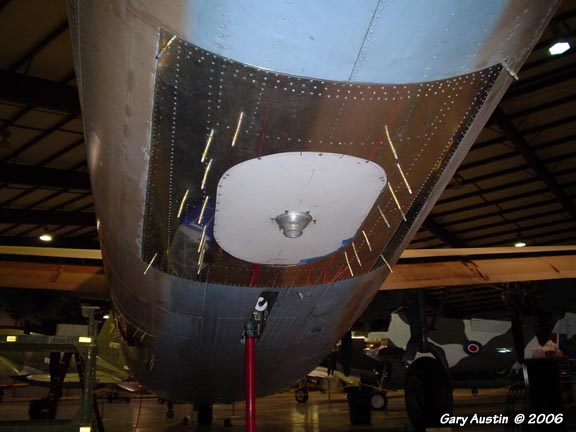
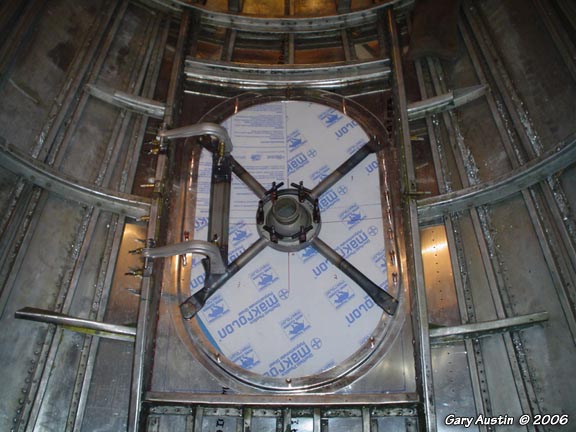
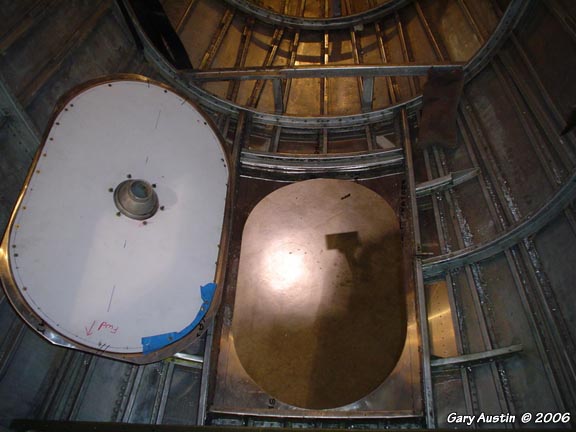
So the next step for me (once the previously mentioned trimming is done) will be to fabricate the latching mechanism for the door. I'll post progress on that when I get something done to it.
Oh, and don't get me wrong here. There are other little projects on the airplane that are getting slowly whittled away as well. I just think I'll save some of these as a surprise and show them when we're finished.


|


