| "If anyone thinks that all they can do is "unskilled labor" and they wouldn't be much help, they are wrong. All of these little projects have to be done, whether it's taking little vinyl letters off the side of the airplane or whether it's forming a new piece of structure. Anything that someone else can do to help just saves me that much more work and time. So thank you to everyone that has come out so far and to those who are considering being part of this team." — Gary Austin

Fabricating the tunnel gun: Part VIII Originally Posted on Dec. 20, 2006
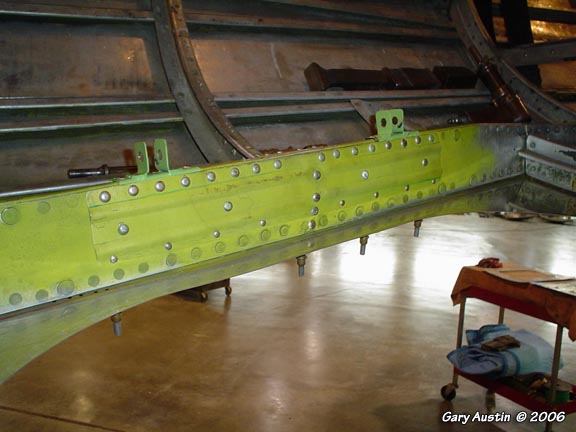
During our last episode, I had just gotten the tunnel gun door hinges all worked out to what their location needed to be and so on. I then disassembled the components of the door and prepped and primed them. While the primed parts were curing, I fabricated a reinforcing plate that goes on the original structure to beef it up in the area where the hinges are located. This was imperative to do, as the original structure had been altered when the airplane was converted to a transport and some of the tunnel gun structural components were removed. I forgot to take pictures of this process, but it was a pretty straight forward piece to build. The only "trickery" involved was the use of the bead roller again to add some additional strength. After the piece was all trimmed up and primed, I riveted it and the stationary hinge points in place.........
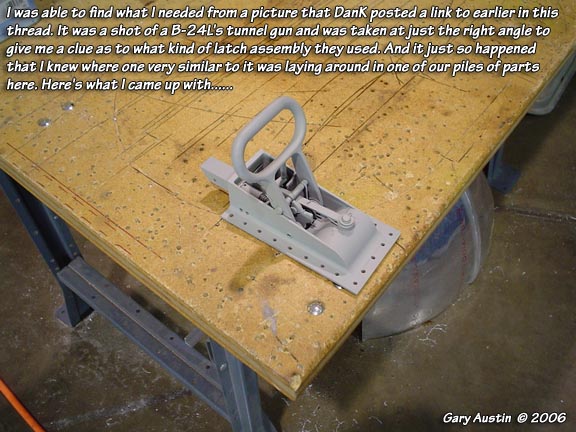
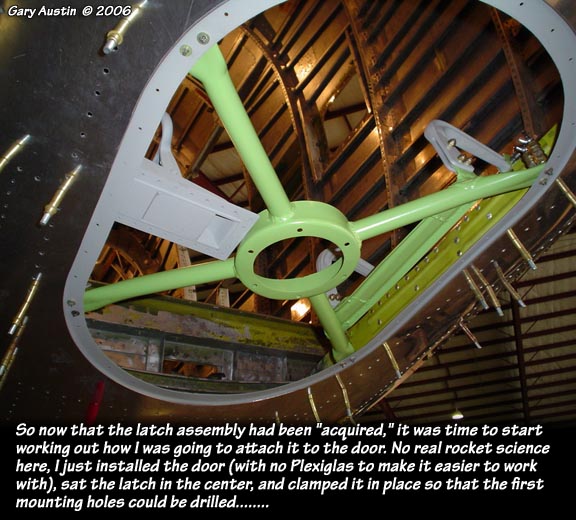
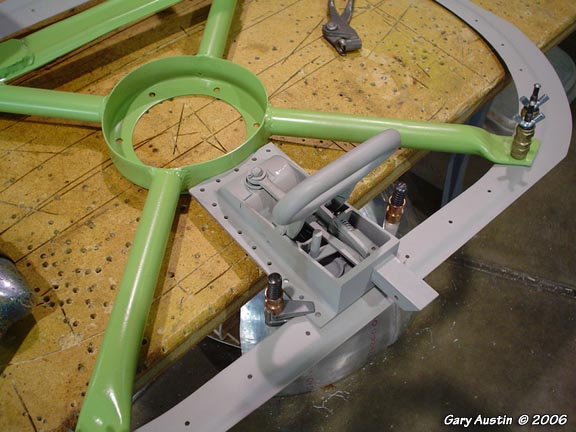
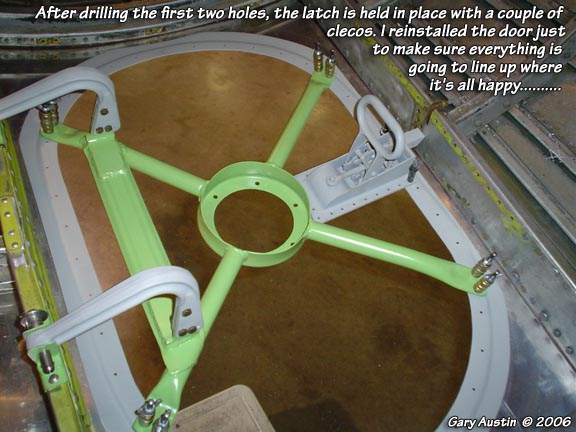
 Once the components of the door were cured, I started working out what I was going to do with the latch arrangement. I actually have some of the factory drawings of the tunnel gun setup, but with me being as dumb as a box of rocks, I just can't make heads or tails of it. I stared at those drawings for twenty minutes and still couldn't figure out how they latched the door. Sooooo, I went to the photos.


|


